Grounding rods play a critical role in protecting electrical systems and appliances from power surges and lightning strikes. Ensuring they are installed correctly is paramount to their effectiveness. This article aims to delve deep into the proper and safest ways to sink a grounding rod, addressing the necessary precautions and techniques involved.
Understanding the key steps and considerations can effectively safeguard your home or property’s electrical system. Ignorance or missteps in the process might leave your setup vulnerable, potentially leading to hazardous situations. Reading through this comprehensive guide will empower you with the knowledge needed to achieve a properly installed grounding rod.
In our detailed exploration, we will cover everything from selecting the appropriate grounding rod to the techniques involved in securely anchoring it into the ground. Safety, as always, will be a critical component throughout the installation process. Let us commence with our journey towards a safer electrical grounding.
Selecting the Right Grounding Rod
The first step in properly installing a grounding rod is selecting the right one for your needs. Grounding rods vary in material, length, and diameter, each aspect playing a crucial role in their effectiveness. Typically made of copper or galvanized steel, these materials are favored for their conductivity and strength. Opting for a rod that resists corrosion is vital, as a compromised rod might fail to conduct current adequately. Additionally, the length and diameter of the rod should meet local electrical codes to ensure optimal performance.
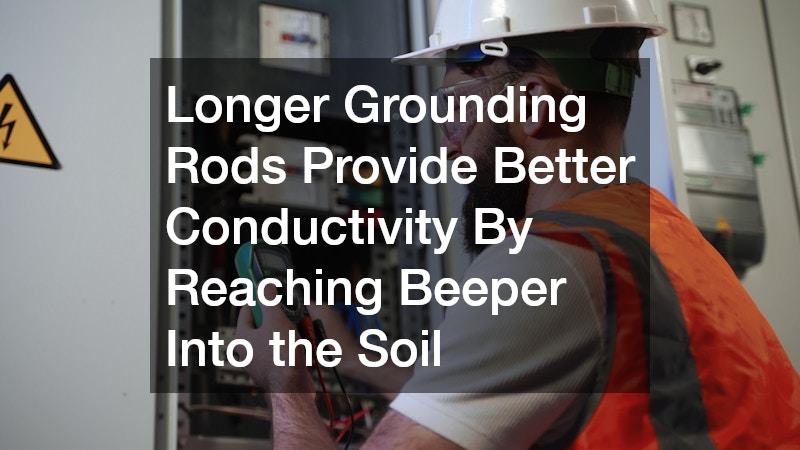
Longer grounding rods provide better conductivity by reaching deeper into the soil, connecting with moisture and mineral-rich layers that enhance conductivity. The standard length for most applications is around eight feet, but longer rods may be required in areas with dry or rocky soil. Diameter, too, affects the rod’s performance, with thicker rods offering lower resistance paths for electrical discharge. Always verify local regulations to determine if specific dimensions must be adhered to.
Furthermore, ensure the rods you select possess the appropriate certifications and meet quality standards, such as UL certification. Such credentials are indicators of tested and safe materials, contributing to the longevity and effectiveness of your grounding system. A mindful selection process at this stage ensures a robust foundation for the subsequent steps in the installation process. Being thoroughly informed at the onset greatly influences the safety and efficacy of the entire setup.
Preparing the Installation Site
Before commencing the installation, it’s imperative to choose an appropriate site for sinking the grounding rod. The selected location should avoid proximity to utility lines, sprinkler systems, and other underground installations. Public utility locator services can survey the chosen area, identifying potential obstructions beneath the ground, a crucial step in preventing accidental damages. Opt for a site where the soil remains consistently moist, as moisture significantly improves conductivity.
The soil type where the rod will be installed affects its performance. For instance, clay-rich soils, known for their moisture retention, are ideal locations for grounding rods. Conversely, rocky or sandy soils may require special preparations, like using a chemical grounding system, to enhance conductivity. If the selected area includes challenging soil compositions, consider excavating a deeper hole or using multiple rods connected at intervals to achieve optimum grounding.
Once the location is confirmed, prepare the site by clearing debris or obstacles that might impede the installation process. Establishing a clear work zone enhances safety and efficiency, reducing the risk of mishaps. With the site duly prepared and surveyed, you are ready to proceed with the actual installation of the grounding rod. The groundwork at this stage is vital not only for compliance with safety protocols but also for ensuring the longevity and efficiency of the grounding system.
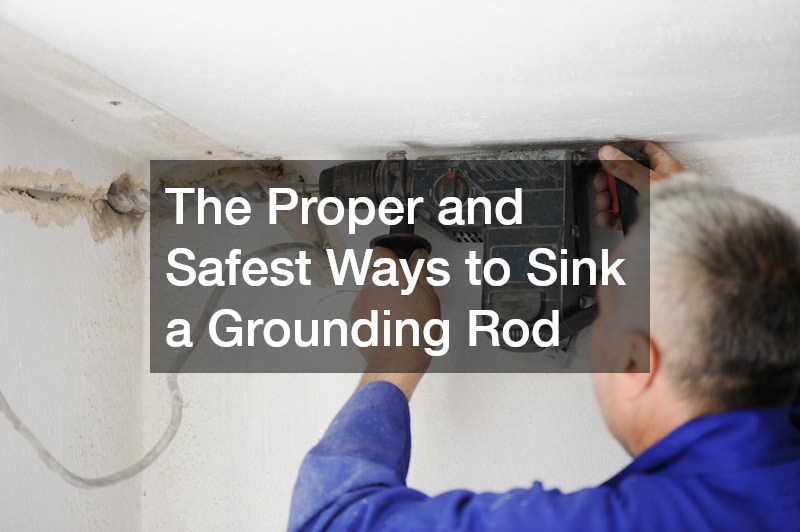
Safely Sinking the Grounding Rod
Now comes the crucial step of sinking the grounding rod. Begin by positioning the rod vertically, using a ground rod driver or a sledgehammer to drive it into the earth. Depending on the soil’s hardness, you may encounter resistance that requires careful and deliberate force to maintain both stability and safety. Always employ protective gear, such as gloves and safety glasses, to guard against potential injuries caused by flying debris or accidental slips.
For those undertaking the task in regions with compact or rocky soils, a jackhammer can expedite the process, offering the necessary force to drive the rod without exerting undue effort. This machinery requires cautious handling to avoid potential incidents. Ensure the equipment is maintained and operated according to manufacturer guidelines to prevent faults or accidents during use. A safety-first approach cannot be overstressed in each phase of the task to protect both the installer and the integrity of the installation.
Verify that the rod is securely embedded at the designated depth, typically six to eight feet until a substantial portion is submerged and stable within the ground. Once firmly in place, a secure connection can be established between the rod and the electrical system, utilizing appropriate grounding clamps to ensure a robust link. This final step ensures that currents are efficiently discharged into the earth, providing comprehensive protection for your electrical installations.
Post-installation Procedures
After successfully embedding the grounding rod, post-installation checks are essential to ensure compliance and functionality. Begin with securing connections using appropriate grounding clamps, tightening them to establish a stable and efficient path for the grounding current. It’s pertinent to inspect the rod occasionally to confirm it remains fixed and maintains good contact with the soil.
Testing the rod’s conductivity with specialized grounding resistance meters can offer insights into its performance. Ensure the resistance levels align with prescribed limits, as deviations might signal a faulty or degraded grounding path. Engage professionals for thorough evaluations if any discrepancies are noted, facilitating timely adjustments and corrections.
Finally, document the installation process, outlining the methods and materials used. Keeping a detailed record assists in future maintenance or troubleshooting endeavors, facilitating a quicker and informed resolution to potential issues. By ensuring routine inspections and maintaining an organized record of the installation, you’re not only safeguarding your infrastructure but also prolonging the efficacy of the grounding system.